
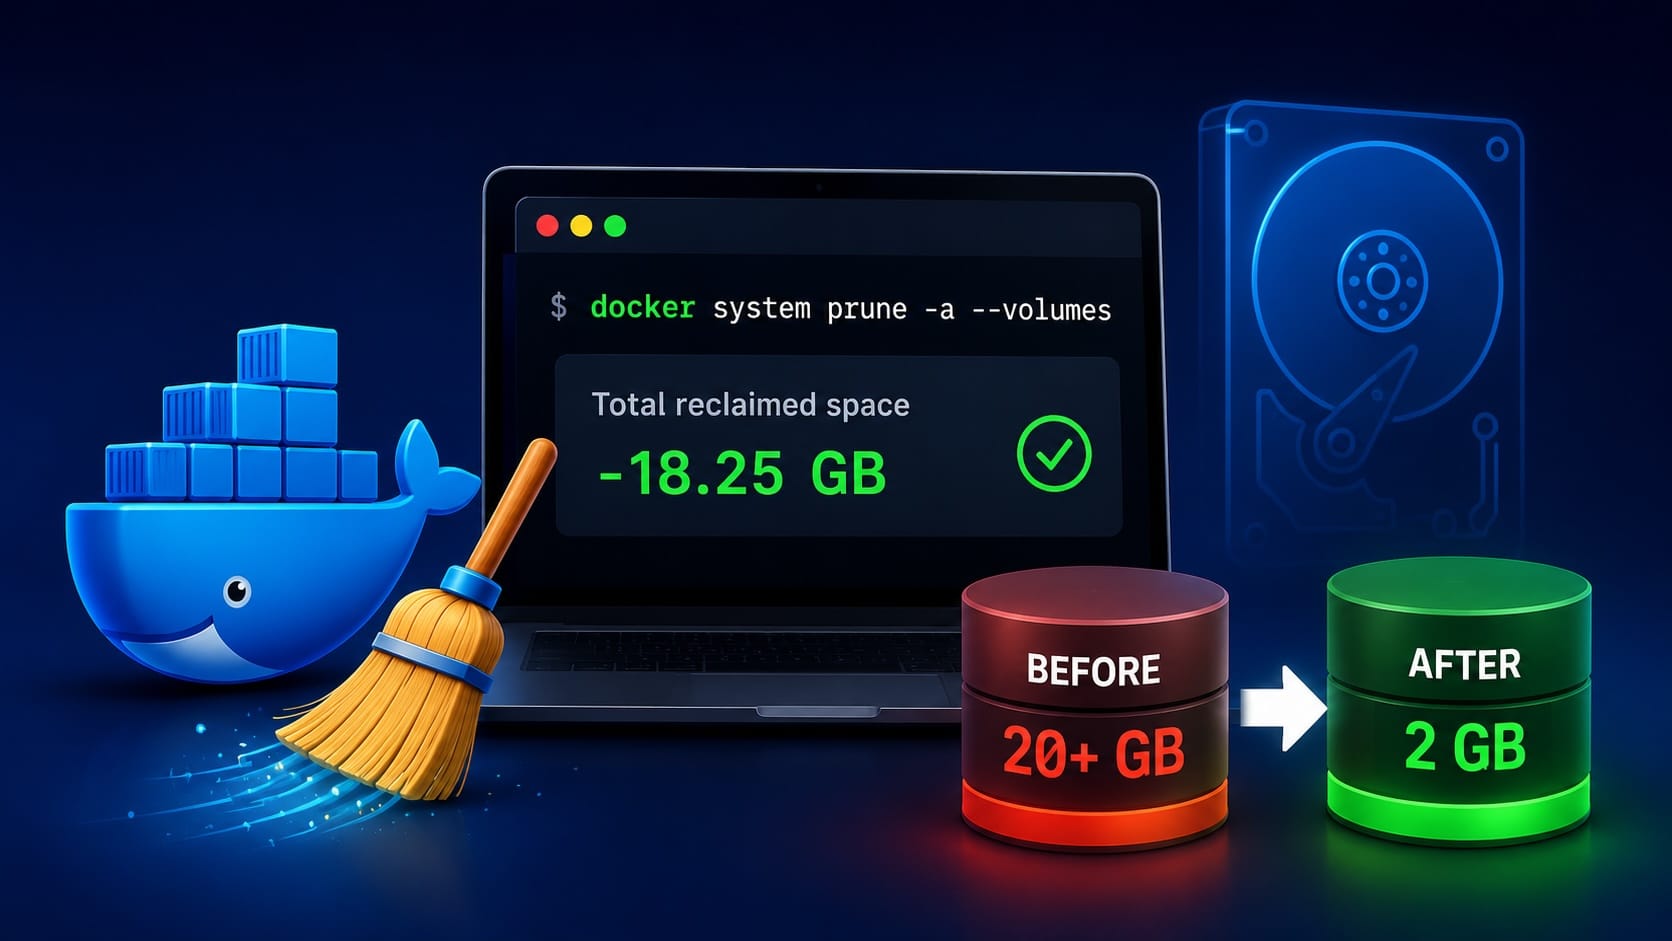
You open Docker Desktop, check your disk usage, and see 20GB or more used. You only have one container running. Where did all that space go.
This happens to almost every Docker user eventually. Docker keeps old image layers, build cache, and unused volumes long after you think you deleted them. In this guide, you will learn how to clean up Docker Desktop space properly, whether you use macOS, Windows, or Linux.
Why Docker Desktop Uses So Much Space
Docker does not delete things right away. Every time you build an image, pull a new version, or stop a container, leftover data can stick around on disk.
The three biggest space hogs are dangling images, unused volumes, and the build cache. A single rebuilt image can leave behind several old layers that serve no purpose anymore. Over weeks or months, this adds up fast.
On top of that, Docker Desktop runs inside a virtual machine on Mac and Windows. That VM has its own disk file, and this file often does not shrink automatically even after you remove data inside it.
Check What Is Actually Using Space
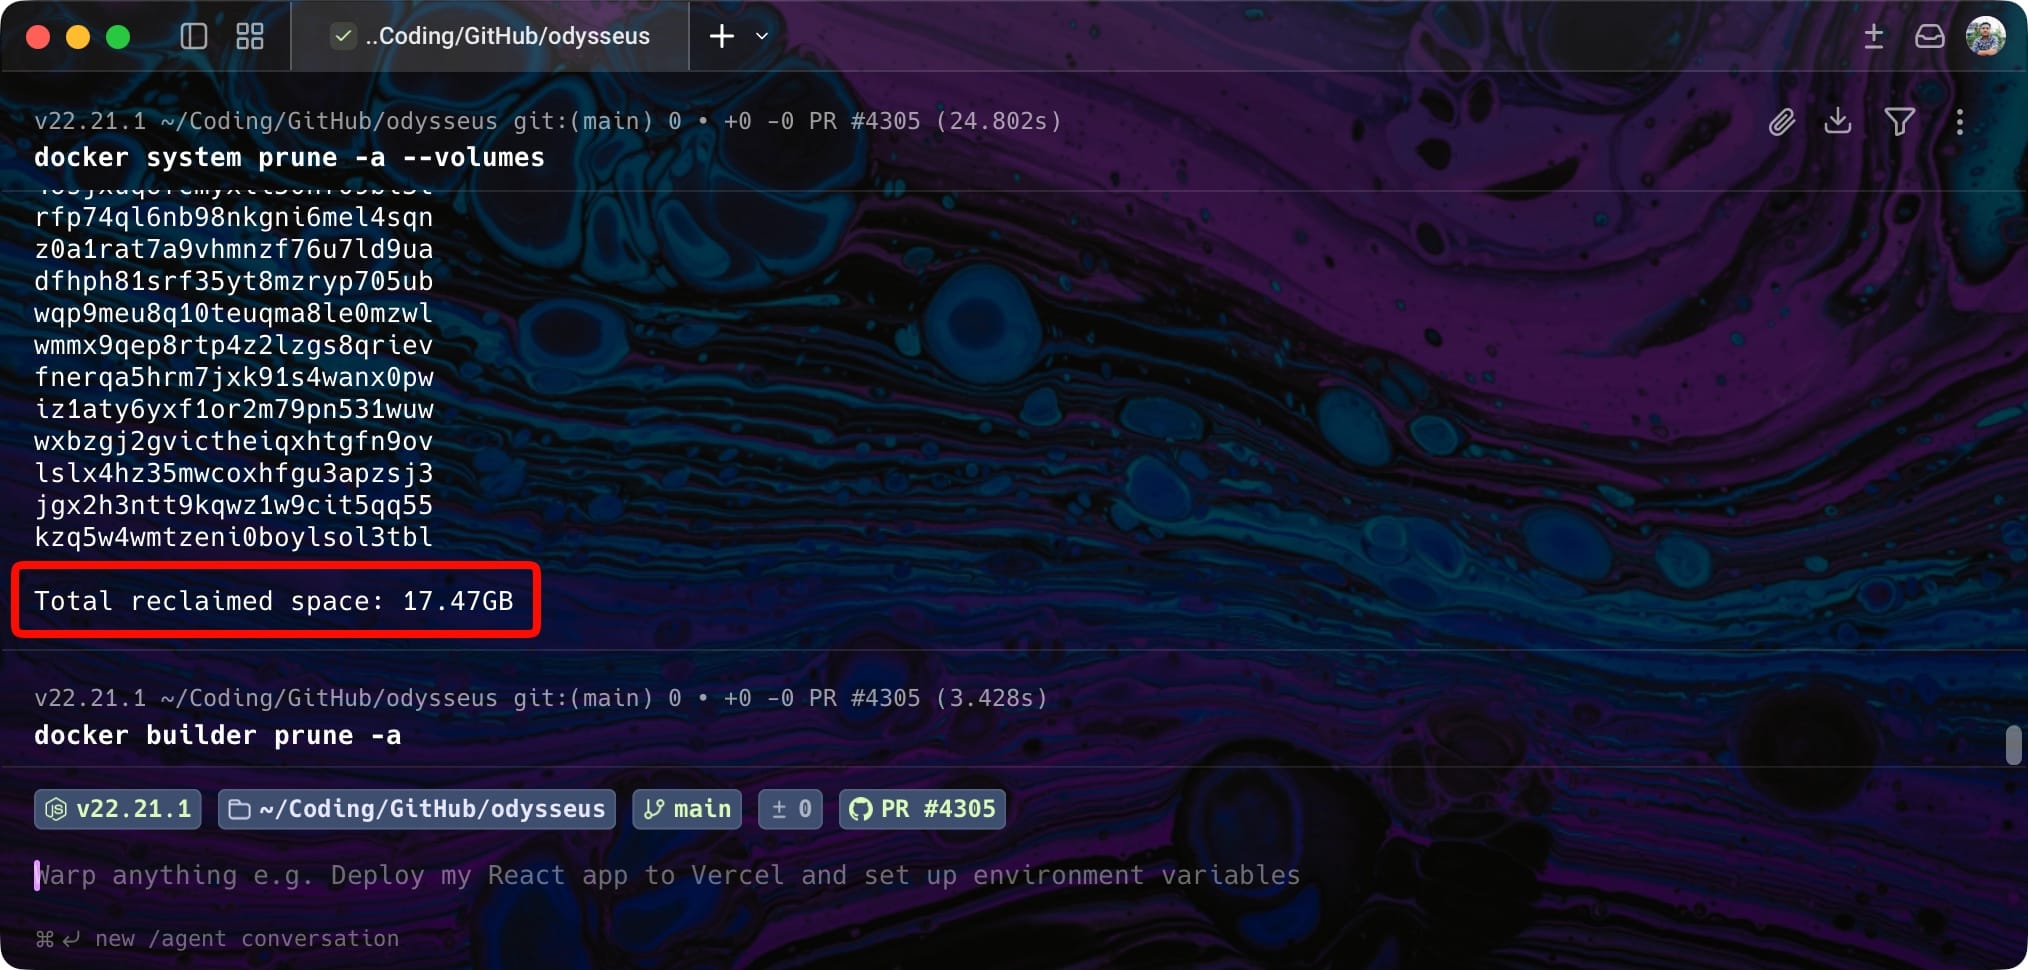
Before deleting anything, see where your space is going. Run this command in your terminal:
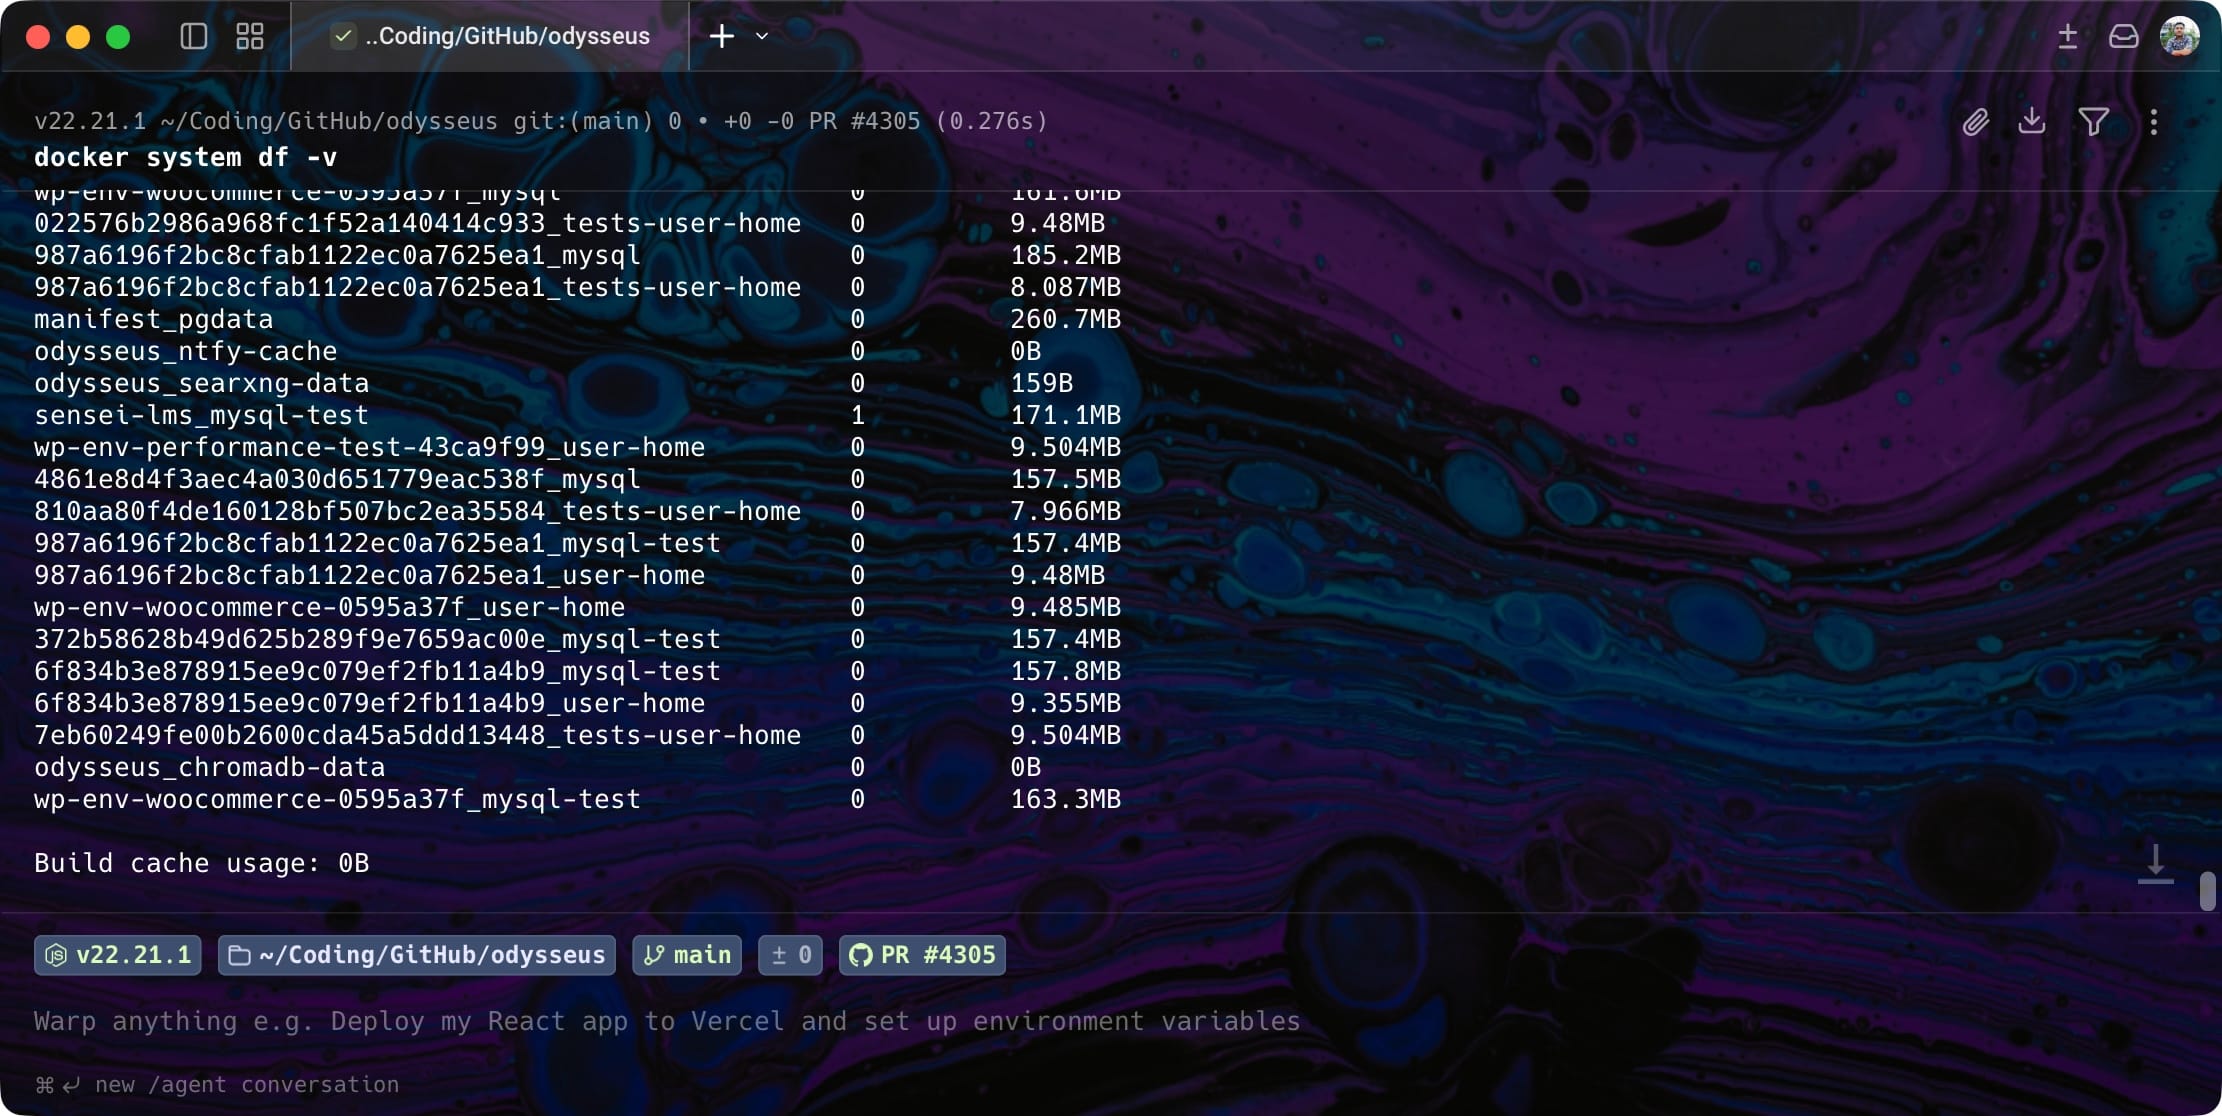
docker system df -vThis shows a detailed breakdown of images, containers, volumes, and build cache. You will often find that build cache or old images make up most of the total, not your actual running container.
How to Clean Up Docker Desktop Space Safely
The safest cleanup command removes unused data without touching anything your running containers depend on. Use this first before trying anything more aggressive.
docker system prune -a --volumesThe -a flag removes all unused images, not just untagged ones. The --volumes flag removes volumes that are not attached to any container. Docker asks for confirmation before deleting, so nothing runs by accident.
If build cache is still large after this, clear it directly.
docker builder prune -aThis step alone can free several gigabytes if you build images often.
Cleaning Up on macOS
On macOS, Docker Desktop runs inside a lightweight Linux VM, and this VM has a virtual disk file that grows over time. Even after running prune commands, this file might not shrink back down right away.
Docker Desktop’s Settings do let you view resource allocation, but the actual reclaim happens through the CLI commands above. Run docker system df -v again after pruning to confirm the numbers actually dropped. If Docker Desktop’s UI still shows the old size, quitting and restarting Docker Desktop often refreshes the reported number.
For a full reset on macOS, quit Docker Desktop, then remove and reinstall the app. This clears the VM disk completely, so you will need to pull or rebuild your images again. Treat this as a last resort, since it wipes all containers, images, and volumes.
Cleaning Up on Windows
Windows users face a similar VM disk issue, but through WSL 2 instead. Docker Desktop stores its data in a virtual disk file, usually named ext4.vhdx, inside your WSL distribution.
Running docker system prune -a --volumes works the same way as on Mac. However, the vhdx file itself may still show the old size in File Explorer, even after cleanup.
To shrink it manually, open PowerShell as Administrator and run:
wsl --shutdown
diskpart
Inside diskpart, select the vhdx file and run the compact command. This reclaims space that Windows was still reserving for deleted data. Official Microsoft WSL documentation
Cleaning Up on Linux
Linux users have it easier since Docker runs natively without a VM layer. Space freed by prune commands shows up immediately in your actual filesystem.
Run the same core commands:
docker system prune -a --volumes
docker builder prune -a
You can also check Docker’s actual storage location, usually at /var/lib/docker, using standard disk usage tools like du -sh /var/lib/docker. This confirms exactly how much space Docker is using on your system, since there is no hidden VM disk file to worry about.
-> You can secure your website from bots.
When to Reset Completely
Sometimes prune commands are not enough. If you have already tried the standard cleanup and space is still missing, a full reset guarantees you get it all back.
On macOS and Windows, this means removing and reinstalling Docker Desktop, or resetting your WSL distribution. You will lose all containers, images, and volumes, so only do this if you are fine rebuilding your setup from scratch.
For most people, running prune commands regularly prevents this from becoming necessary in the first place. A monthly docker system prune -a --volumes keeps things manageable without any drastic steps. If you automate your builds or deployments, consider adding this cleanup step to your CI process.
Frequently Asked Questions
Why does Docker Desktop show more disk usage than my actual images and containers?
Docker keeps build cache, dangling image layers, and unused volumes even after you stop or remove containers. These hidden layers often take up more space than your active images and containers combined.
Is it safe to run docker system prune -a?
Yes, but it removes all images not currently used by a running container, along with unused networks and dangling build cache. Docker always asks for confirmation first, and any image tied to a running container stays untouched.
Will docker system prune delete my volumes and data?
By default, docker system prune does not touch volumes. You need to add the --volumes flag if you also want to remove unused volumes, and this can delete data inside them if that volume is not attached to a container.
How often should I clean up Docker Desktop?
Running docker system prune -a --volumes once a month works well for most developers. If you build images frequently, doing it weekly keeps build cache from growing too large.
Does deleting Docker Desktop and reinstalling it fix disk bloat?
Yes, reinstalling clears the underlying VM disk on Mac and Windows completely. This is more effective than prune commands alone if the VM disk file itself has grown large, but it removes every container, image, and volume you have.
Why does my VM disk file stay large even after freeing space inside Docker?
Some filesystems do not automatically return freed blocks to the host disk. This is common behavior with virtual disk files in general, not something specific to Docker.
Conclusion
Docker Desktop space issues usually come from old image layers, build cache, and the VM disk file not shrinking on its own. Running docker system prune -a --volumes handles most cases on every operating system.
Try the safe cleanup commands first, then move to a full reinstall only if space is still missing. Once you clean up Docker Desktop space properly, set a reminder to prune every month so it does not pile up again.











Leave a Reply